Yesterday, I made the switch from Eclipse to Android Studio. I'm not sure how to feel. As an educator, my goals with Android Studio aren't quite the same as your regular developer. Sure, I want an environment where programmers can be productive, but I also want an environment that is easy to manage in a classrom with novice programmers and lots of disks that my sysadmin and I need to configure and maintain.
I'll probably be revisiting this topic in August, when I set up for my game development class again, but here are a few initial impressions:
Definite Good Things
First and foremost, I love that there's
just one installer. I don't need to install the JDK separately [Update: well, kind of...], and I don't need to manually create an Eclipse shortcut, since there's a proper MSI instead of just a zip file. The install took a long time... much longer than unzipping from a Git Bash prompt... but I can live with that.
I have never been a fan of Eclipse workspaces, and I was glad to see that
Android Studio doesn't have workspaces. It's much easier for me to manage 32 games that come from the same source parent when I don't have to go and rename the projects, just to keep Eclipse workspaces happy.
Refactoring is build-aware. When I refactored a package name, all of the build files, in all of the projects, were updated automatically. It updated my manifest, too. I used to need a script for this. Now it's just a few keystrokes.
Reformatting all files is a breeze. It's one click to reformat all files in a folder, as opposed to doing it one-at-a-time like in Eclipse. This might not seem like a big deal, but I find myself doing a lot of reformatting. When a student has a bug in their code, and they've mucked with 15 different files, it's nice to get things back to a sane format before I go digging.
Probably Good Things
Android Studio has an
aggressive warning system. It flags lots of correct-but-not-ideal code. I'm not 100% sure I agree with all the recommendations. Consider the following code:
    if (!mEnabled)
        return false;
    return onPan();
The warning system encourages me to refactor this to:
return mEnabled && onPan();
Is that really more intuitive? The two will produce the same bytecode, but the latter requires me to remember that Java has short-circuit evaluation. I can remind myself of that fact, but the time it takes me to remember is more than the time it takes to read two extra lines.
Another issue I have with the warning system is that it encouraged me to make some changes that Gradle disliked. For example, it encouraged me to use some Java 1.7 features, even though my Gradle files still used Java 1.6. Sure, in the end it was just a matter of changing the Gradle files, but I sort of thought that Android Studio would do that for me.
Gradle also favors
storing remote packages out-of-tree. Again, I'm not sure how to feel. It's nice to stop having .so and jar files in my repositories, but I'll have to see how it goes when I'm managing 128 disks. I know it's going to be friendlier on my hard disk, since it'll take 1/32 of the space to manage the games from my class (they all use the same LibGDX libraries). But what happens when a library changes right before class, and I have to patch code on 32 disks in real time to deal with a mismatch between my code and a refactored API?
Project and structure are separate. I liked being able to quickly navigate to a specific function of a file from the Eclipse Project Explorer. In Android Studio, I have to toggle between the Project and Structure tabs. There are keyboard shortcuts for switching, so that mitigates things to some degree. I'm sure I'll eventually get used to this.
Not Good Things
Build times are really slow. Really slow. It takes at least 10 seconds to get the desktop game running, even if I haven't changed anything since the last build. I don't know how long it took in Eclipse, because it was so fast I didn't care. In contrast, Android Studio reports how long the build took, which says to me that they know it's slow. It's not really Android Studio's fault, it's Gradle. But it's slow.
On-the-fly compilation doesn't give a list of all warnings. This may or may not matter to you, but I loved the way that Eclipse would give me a single window with all of the errors (or at least the first 100) across all of the files in my project, and update it every time I saved any file. Android Studio highlights files (or their packages, when the package is collapsed) when they have errors. But it still means I have to go searching.
The tooltips aren't on by default. Part of the reason that I comment everything in JavaDoc format is because Eclipse would show me my comments when I hovered over any method or class. Having that documentation on hand is a huge productivity enhancer. In Android Studio, I can get to the quick documentation with ctrl-Q, or by enabling on-hover quick documentation. But it should be enabled by default. And the presentation of the information does not use space well. Precious vertical space is wasted on buttons that seem to always be disabled.
The keyboard shortcuts aren't intuitive. Ok, I'll admit that F3 being the Eclipse shortcut for "jump to definition" wasn't the most intuitive, but in Android Studio, it's ctrl-b. Why 'b'? And why ctrl? I am a keyboard junkie. I avoid using the mouse as much as possible. And I try to stick to a scheme where ctrl is the prefix for in-document features, Alt is the prefix for app-wide features, and the control keys are for additional functionality. Beyond that, there are many shortcuts that just don't make sense. Ctrl-w, the almost universal shortcut for "close this subwindow", doesn't work. I have to use ctrl-F4. Alt-R takes me to the Refactor menu, not the Run menu (I run my code much more often than I refactor it). And worst of all, shift-F10, which for the last 13 years has been the Windows shortcut for "show me the context menu, because my laptop keyboard doesn't have that nice extra button on it", is overloaded to mean "run". So I am literally forced to use my mouse to do things (right click) that every other Windows application in the world has allowed me to do with the keyboard.
There seems to be a
limit on the number of open files. The UI silently closes files that are low in the stack, so I only have 10 open at any time. Sure, it's annoying to have to tab through dozens of files, but since Android Studio has an awesome pop-up on ctrl-tab, you'd think they'd let me have lots of open files in it.
Wrap-Up
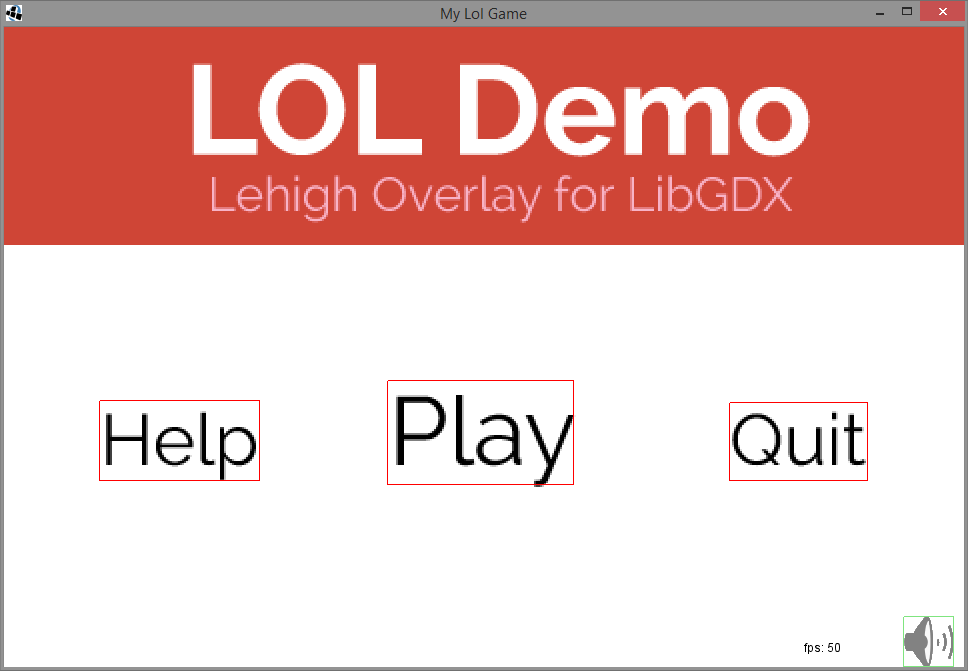
To be fair, I've been doing Android development in Eclipse for 4 years. Some of my gripes are probably just growing pains. Also, there are quite a few things I haven't tested at all. I haven't used the emulator. I haven't looked at my OpenCV apps yet. Heck, I haven't even tried to use the Android Studio tools to design a UI.., I've only looked at liblol and game development, which in some ways is the most un-Android of any Android project I've worked on.
Android Studio definitely does some things better than Eclipse. There are a lot of places (basic writing of code) where the two are equal. I'll probably warm to Android Studio over time. How about you? Have you switched to Android Studio? How do you feel about it, compared to Eclipse?